Cloth car seats are easy to clean too aggressively. A stubborn spot can make it tempting to spray a lot of cleaner, scrub hard, and keep adding water until the seat looks wet enough to count as progress. That usually creates a slower-drying cushion, a water ring, or fabric that still looks uneven once it dries.
The better approach is simple: remove dry debris first, use the least moisture that can do the job, and give each pass time to work. Most everyday dirt, light spills, and tracked-in grime can be improved without turning the seat into a sponge. The goal is clean, even upholstery that is ready to use again, not a dramatic cleaning session that leaves the car damp for days.
This guide explains how to clean cloth car seats step by step, what to do with common stains, and when a heavily used interior is better suited to a professional interior detail.
Start by checking the fabric and clearing the seat
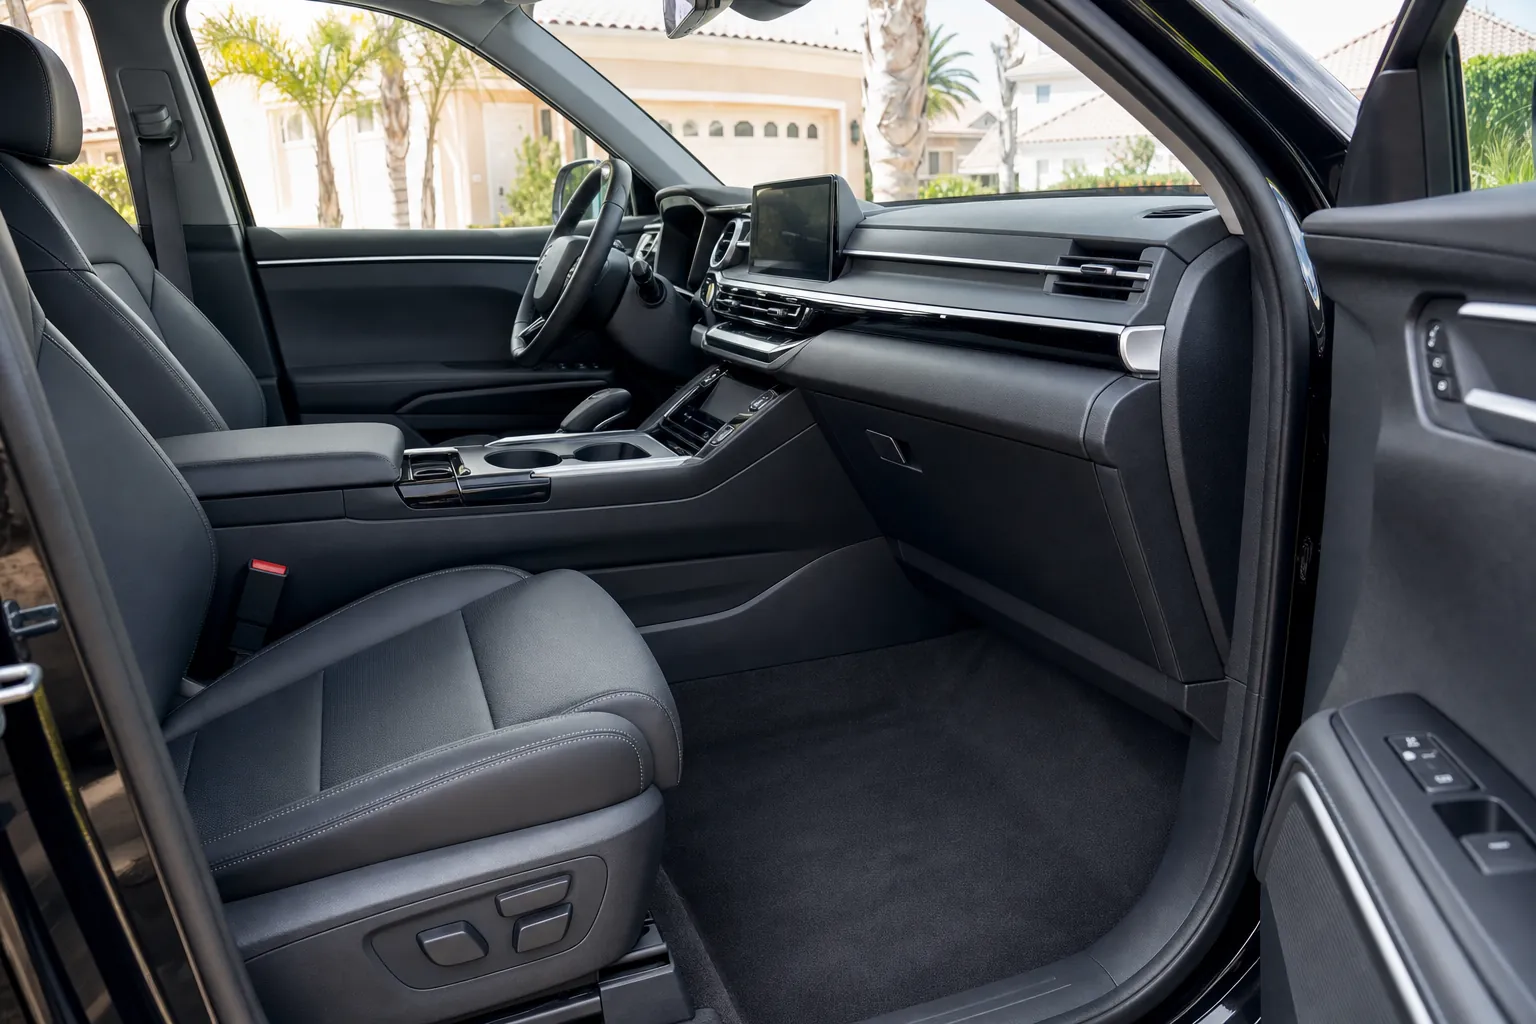
Before using any cleaner, check the owner's manual for upholstery-care instructions. Some vehicles use more than one material across the seat, including cloth, synthetic suede, leather trim, contrast stitching, or seat inserts with special care requirements. The safest method is always the one the vehicle maker approves for the material in front of you.
Then remove everything from the seat and the floor around it. Take out loose items from the seat pockets, lift the floor mats, and move the front seats forward and backward so you can reach the seams and lower cushions. It is much easier to see the stain you are treating when crumbs, pet hair, wrappers, and loose dirt are not competing for attention.
Toyota's interior-cleaning guidance recommends using a mild cleaner on a cloth rather than spraying product directly across cabin surfaces. That same restraint is useful with cloth upholstery. Start with a small amount, then add more only if the fabric actually needs it.
Gather a few gentle tools before you begin
You do not need a shelf full of specialty products for a normal seat cleanup. A vacuum with a crevice tool, a soft upholstery brush, clean microfiber towels, a cloth-safe upholstery cleaner, and a small bowl of clean water are usually enough. Keep a second dry towel nearby so you can blot moisture as you work.
Avoid stiff brushes, bleach, strong degreasers, and random household cleaners. Cloth fibers can fray, fade, or feel rough when they are scrubbed too hard. Products that leave a heavy residue can also attract dirt later, which makes a seat look dirty again sooner than it should. A cleaner designed for automotive fabric, used according to its label, is the safer starting point.
If the seats are mostly dusty or have a few crumbs, you may not need cleaner at all. A thorough vacuum and a light pass with a clean dry brush can make a noticeable difference. Save the moisture for the areas that actually need it.
Vacuum the seats before adding any cleaner
Vacuuming is not a throwaway first step. It removes loose grit that can turn into a muddy film when liquid cleaner is added. Use the crevice tool along the stitching, between the seat back and cushion, around seat-belt buckles, and at the edges where the seat meets the center console or door. A soft brush attachment can help lift dust without grinding it deeper into the fabric.
Work slowly enough to get the crumbs and debris out of the seams. Those are the spots that tend to keep shedding dirt onto the seat after you think you are finished. If you have pets, vacuum in more than one direction. Hair often catches in the weave and can look like a stain until it is lifted out.
Once the seat is vacuumed, look at it in good light. This helps you separate a true stain from a shadow, crushed fabric, or general wear. Cleaning the whole seat repeatedly is rarely the answer when one small area is the real problem.
Test the cleaner in a hidden spot first
Choose a small spot low on the seat or near the edge where a color change would not be obvious. Apply a little cleaner to a microfiber towel, not directly to the seat, then blot the test area. Let it dry before moving forward. You are checking for color transfer, fading, stiffness, or a visible ring.
Testing may feel unnecessary when the bottle says it is fabric-safe, but seats can be older, previously treated, or made with mixed materials. It takes a minute and gives you a chance to stop before a small cleaning job becomes a larger correction problem.
Keep the cleaner off seat controls, wiring, heated-seat switches, buckle receivers, and other electrical areas. For those spots, use a barely damp towel and follow the vehicle manual. Upholstery cleaner belongs on the fabric, not in the hardware around it.
Clean cloth seats with light, repeated passes
For ordinary buildup or a light stain, spray the cleaner onto a microfiber towel or a soft brush until it is damp, not dripping. Work a small section at a time with gentle, short strokes. Start at the outside edge of the stained area and move inward so you do not spread the mess into clean fabric.
After a few passes, blot the area with a separate dry towel. The blotting step matters because it lifts moisture and loosened soil instead of pushing both farther into the cushion. Turn the towel to a clean section as it picks up dirt. If the towel is no longer lifting anything, pause before adding more product.
For a seat that needs an overall refresh, work in sections that make sense with the upholstery pattern: one bolstered panel, one center insert, or one lower cushion at a time. Finish each section with a dry towel before moving on. That method produces a more even result than soaking one large area and hoping it dries uniformly.
Be patient with textured cloth. A very soft brush can loosen soil from the weave, but hard circular scrubbing can fuzz the fibers and leave the cleaned area looking different from the rest of the seat. Light pressure, several passes, and regular blotting are usually more effective than brute force.
Handle fresh spills and older stains differently
Fresh spills are mostly a blotting job. Use a clean, absorbent towel to press down and lift liquid before it spreads. Do not rub it back and forth. Rubbing can drive a drink, sauce, or colored spill deeper into the fabric and widen the area you eventually need to clean.
For an older stain, vacuum first, test the cleaner, and work in small passes as described above. Give the fabric a chance to dry between rounds. A stain that looks gone when the seat is wet can reappear as the fibers dry, especially when soil is deeper in the cushion. If that happens, do not keep flooding the area. Another measured pass later is safer than saturating the seat in one sitting.
Oil, ink, dye transfer, paint, mold, bodily fluids, and stains paired with odor are different situations. They may need a product or process specific to the contaminant, and some will not come out completely without affecting the fabric. Honest expectations matter here. A clean seat can be a major improvement without pretending every old mark can disappear.
For broader interior upkeep, the car interior cleaning guide covers the order for the rest of the cabin, including trim, carpet, glass, mats, and high-touch areas.
Let the seats dry fully before using the car
Cloth seats should feel dry to the touch before the vehicle returns to normal use. Leave the doors open in a secure location or crack the windows when weather and safety allow. Air movement is more helpful than adding more heat, and a dry microfiber towel can remove a surprising amount of moisture after the final cleaning pass.
Do not reinstall wet floor mats or pile bags, car seats, blankets, or covers back onto damp upholstery. That traps moisture exactly where you want it to escape. A seat that feels cool or damp beneath the surface needs more time. Rushing this step can leave the car smelling stale, even when the fabric looks clean.
Bakersfield heat can make a surface feel dry quickly, but it does not guarantee the padding underneath is dry. That is another reason to use less liquid from the start. A careful cleaning method makes the finish look better and shortens the wait before you can use the vehicle comfortably again.
When cloth seats need more than a home cleanup
A DIY cleanup is a good fit for regular dust, crumbs, light spills, and small areas of everyday dirt. It becomes less practical when several seats are stained, pet hair is woven throughout the cabin, the fabric has strong odor, the cushions are already damp, or the vehicle has not had a full interior reset in a long time.
On The Run Detailing provides mobile interior detailing for Bakersfield and nearby Kern County communities. The current interior-detail package starts at $189 and includes vacuuming, interior surfaces, glass, mats, trunk care, upholstery cleaning and extraction, leather treatment, and attention to minor pet hair or carpet stains. The final scope depends on the vehicle and its condition, which is more useful than forcing every car into the same estimate.
You can review real detailing work, read the car-detailing schedule guide, or request a detail with a short description of the seats and any stains you are dealing with. For an appointment at home, work, or an apartment, the mobile detailing page explains how the service fits around your day.