Cleaning a car interior is easiest when you work from dry mess to wet mess, and from the top of the cabin down to the floor. That order keeps dust, crumbs, and loose debris from landing on surfaces you just cleaned. It also helps you see what actually needs attention before you soak a seat, scrub a stain too hard, or turn a simple cleanup into an all-day project.
For a normal weekly reset, you do not need a shelf full of products. A vacuum with attachments, clean microfiber towels, a soft brush, a mild interior-safe cleaner, glass cleaner, and a little patience will handle most of the cabin. The goal is not to make every surface shiny. It is to remove buildup, leave materials dry and even, and make the vehicle feel better to drive.
This guide explains how to clean a car interior step by step, where to slow down around screens and upholstery, and when a stain, odor, pet hair, or heavily used cabin is better handled with a professional interior detail.
Before you start, clear the cabin and choose gentle tools
Take out the obvious clutter first: trash, water bottles, loose change, car seats, floor mats, cargo-area items, and anything stored in the door pockets. Do not work around piles. Removing them gives you access to the seams and surfaces where dirt collects, and it keeps you from spreading a sticky spill from one area to another.
Set aside a few clean microfiber towels instead of using one towel for every job. One can be for dusty trim, one for cleaner, and one for glass. A towel that has picked up grit can leave scratches or haze if you keep moving it across clear plastic, glossy trim, or the inside of the windshield. Soft detailing brushes are useful around vents, switches, cup holders, and stitching, but use light pressure. Interior plastics and screens do not improve when they are scrubbed like a wheel.
Check the owner's manual before applying anything to leather, suede-like materials, screens, or specialty trim. Toyota's interior-cleaning guidance makes the same point: materials in a cabin need different care, and a mild cleaner on a cloth is safer than spraying product directly onto every surface.
Step 1: Vacuum before using any cleaner
Start with a thorough vacuum. Move the front seats forward and backward, use a crevice attachment along the rails, and work through the floor, seat seams, lower door pockets, trunk, and cargo area. Brush attachments can help lift dust from fabric and carpet, while a narrow tool is better for the space between the seat and center console.
Vacuuming first matters because loose grit becomes mud when cleaner is added too early. It also shows you what is left after the easy debris is gone. A carpet that still looks dark or matted after vacuuming may need a deeper clean. A seat with crumbs tucked into the stitching may need a soft brush before you reach for any liquid.
Take out the floor mats and clean them separately. Shake them out first, vacuum both sides, then follow the material's care instructions. Do not put damp mats back into the vehicle. They can make a clean cabin smell stale and leave moisture trapped against the carpet.
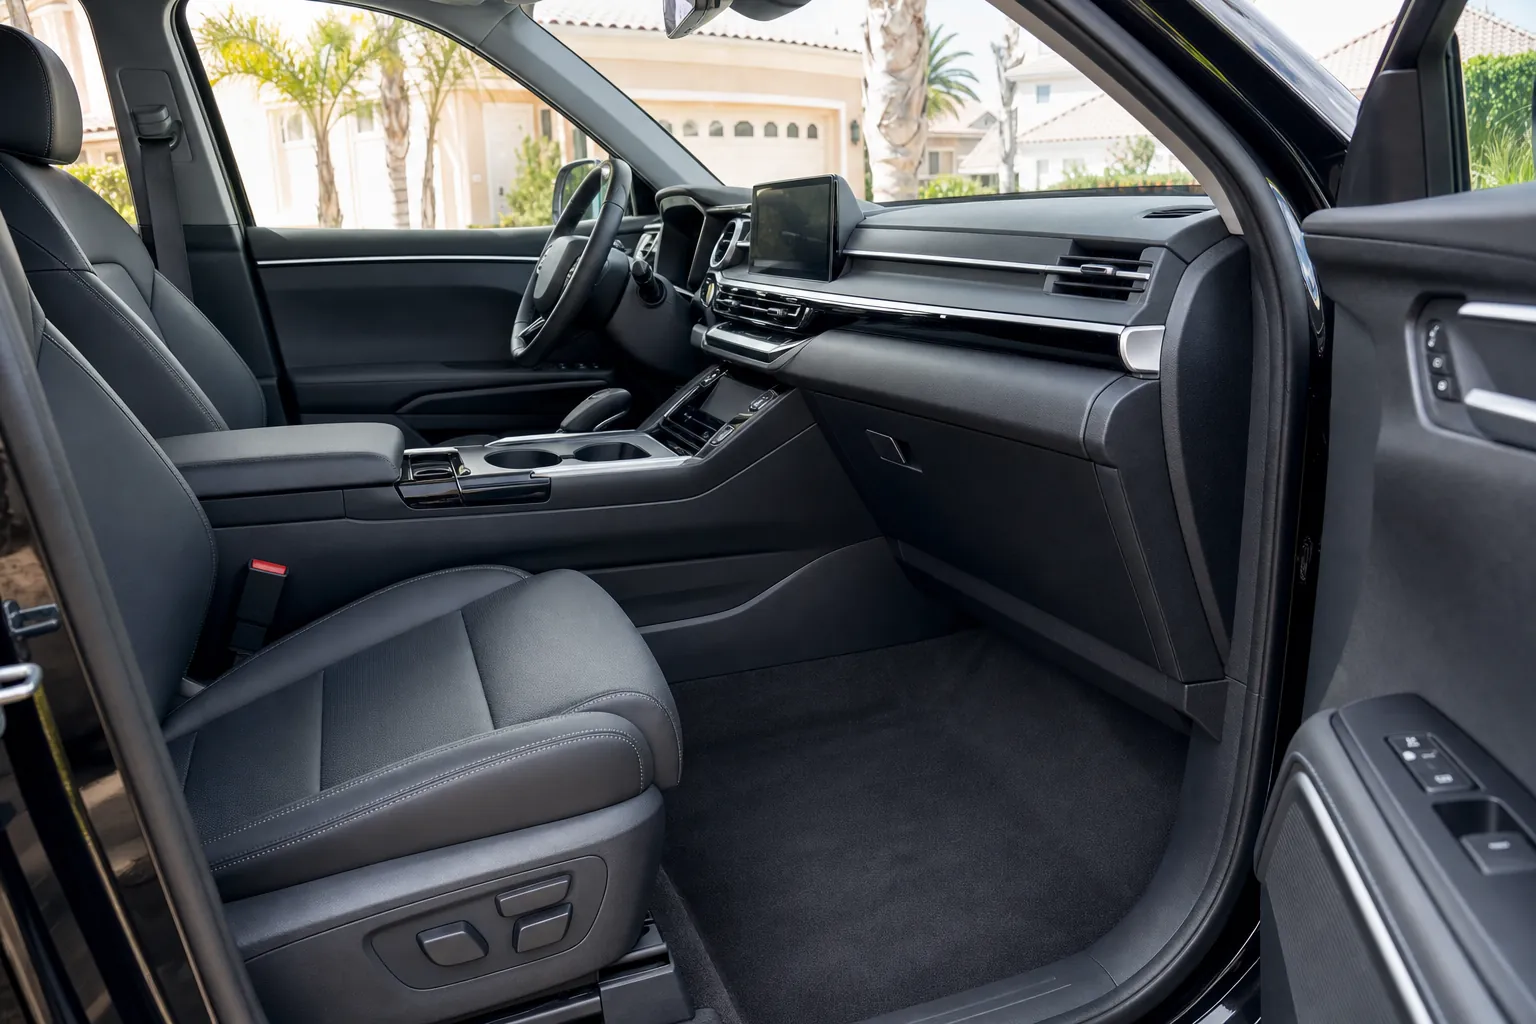
Step 2: Work from the dash down, not from the carpet up
Once the loose debris is gone, start at the top of the cabin. Use a soft brush or dry microfiber to loosen dust from vents, dashboard seams, steering-wheel controls, door handles, and around the shifter. Follow with a lightly damp towel, not a dripping one. Put cleaner on the towel instead of spraying it straight onto buttons, screens, gauges, speakers, or electrical controls.
Use a small amount of cleaner and make short passes. You are looking for an even, clean finish, not a slick coating. Heavy dressings can leave a greasy feel on the steering wheel and a distracting shine on the dash. They can also create glare on a bright Bakersfield day, when the windshield and dashboard are already working against visibility.
For touchscreens and gauge displays, use only the product and method recommended by the vehicle manufacturer. A dry or barely damp microfiber is often enough for fingerprints and dust. Skip household glass cleaners and rough paper products unless the manual specifically says they are safe for that screen. Those surfaces are easy to mark and surprisingly hard to make look even again.
Step 3: Clean seats based on the material, not the stain alone
Fabric seats, leather, vinyl, and specialty upholstery should not all get the same treatment. For fabric, blot a fresh spill with a clean towel before it spreads. Then use a small amount of fabric-safe cleaner according to its instructions, working from the outside of the stain toward the center. Blot between passes instead of saturating the cushion. Too much water can push soil deeper, leave a water ring, or make the seat slow to dry.
Leather should be cleaned with a product made for automotive leather or the vehicle manufacturer's approved method. Use a soft towel, work in small areas, and avoid leaving product in perforations or seams. Some seats are coated leather, while others have different materials on the bolsters, inserts, or trim. When you are not sure what you are touching, test a small hidden spot first.
Do not use an aggressive brush, bleach, or a random household degreaser just because the stain looks stubborn. The color, texture, and finish of the seat matter as much as the mark. If the stain is old, oily, heavily dyed, or paired with odor, it may need extraction and more time than a quick driveway cleanup can provide.

Step 4: Treat carpet, mats, and pet hair as separate jobs
Carpet catches the mess that the rest of the cabin sheds. After vacuuming, use a brush to loosen dirt in high-traffic areas such as the driver's footwell, seat edges, trunk, and cargo area. If you use a carpet cleaner, use it sparingly and follow its dilution and drying instructions. A clean-looking carpet is not worth leaving the vehicle damp for days.
For minor spots, work slowly and blot the area clean. Do not keep adding cleaner once the towel is no longer lifting anything. If a stain returns as the carpet dries, it may be coming back up from deeper in the fibers. That is a good sign to stop rubbing and consider a deeper upholstery-cleaning process instead of wearing out the carpet pile.
Pet hair needs a different kind of patience. Vacuuming is the first pass, but hair can weave into carpet and cloth seats. Use a soft rubber pet-hair brush or a suitable interior tool in short sections, then vacuum again. Avoid hard scraping tools that can fuzz fabric or damage trim. For heavy pet hair throughout a vehicle, a professional interior detail is usually more efficient than spending several weekends chasing the same loose strands.
Step 5: Finish with interior glass, then let the cabin dry
Interior glass is easy to overlook until sunlight exposes haze across the windshield. Use a clean glass towel and an automotive glass cleaner, applying the product to the towel rather than directly onto the glass. Wipe one section at a time, then use a second dry towel to remove any remaining film. This two-towel method is especially useful on the windshield, where old product, fingerprints, and outgassing residue can leave streaks.
Work carefully around the edges of the glass and the dashboard. A damp towel is enough near sensitive trim. Do not leave product pooled in defroster vents, speaker grilles, or window switches. Before putting the car back into normal use, give seats, carpet, mats, and any cleaned upholstery time to dry with the doors open or windows cracked in a safe location.
If you are washing the exterior at the same time, plan around runoff. The EPA's vehicle-washing guidance notes that wash water can carry contaminants toward storm drains. Keep exterior cleaning controlled and avoid treating the driveway like a place where every product can simply rinse away.
A simple interior-cleaning order you can repeat
When the car is mostly under control, the best routine is the one you will actually repeat. Start by removing trash and personal items. Vacuum seats, floor, mats, and the cargo area. Dust the dash and trim. Wipe high-touch points such as the steering wheel, handles, console, and cup holders. Clean the inside glass last, then let any damp fabric dry before reinstalling the mats.
That routine works because it separates basic maintenance from a deep-cleaning project. You do not need to shampoo seats every week or saturate carpet after every road trip. Small cleanups keep the cabin manageable, while stains, embedded dirt, pet hair, odors, and heavily used upholstery can be addressed when they actually need more time.
Two areas are especially easy to miss: the back of the steering wheel and the inside of the windshield. The steering wheel, turn-signal stalk, door pull, and seat-belt buckle are touched constantly, so a careful wipe makes the cabin feel cleaner immediately. The inside windshield can look fine until afternoon sun reveals the film. Taking an extra minute on those contact points often makes a quick cleanup feel far more complete.
For a fuller reset, the car-detailing schedule guide can help you decide when a normal cleanup is no longer enough. A professional detail is not a replacement for every small habit, but it is a useful way to bring a vehicle back to a clean baseline when daily life has caught up with it.
When to call in a professional interior detail
DIY cleaning is a good fit for ordinary dust, crumbs, light spills, and routine upkeep. It is less useful when the cabin has old or widespread stains, stubborn odor, large amounts of pet hair, damp carpet, visible buildup in every seam, or a vehicle that has not had a real reset in a long time. Those issues often need extraction, longer drying time, and tools designed to lift soil without soaking the cabin.
On The Run Detailing provides mobile interior care for Bakersfield and nearby Kern County communities. The current interior detail starts at $189 and includes vacuuming, interior surfaces, glass, mats, trunk care, upholstery cleaning and extraction, leather treatment, and attention to minor pet hair or carpet stains. A larger vehicle or heavier condition can change the final scope, which is why the most useful next step is to describe the car and the areas that need attention.
Browse the current packages, look through the real detailing work, or request a detail when the cleanup needs more than a vacuum and a towel. The right service should solve the condition of the car in front of you, not force every mess into the same package.